CDS_SITE is a location that contains common System Capture project settings and library information. The Starter Library that comes with the CIP Web Server installation provides the folder structure and corresponding sample site.cpm and cds.lib files which enables you to get started quickly. This appendix provides a step by step guide to setup up your CDS_SITE and place parts from CIP to your System Capture schematic.
1.Verify that the System Capture Starter Library Option has been installed with the CIP Web Server. If your CIP web server is an upgrade, you will need to uninstall the existing server and run the installer again to see the System Capture Library Option.
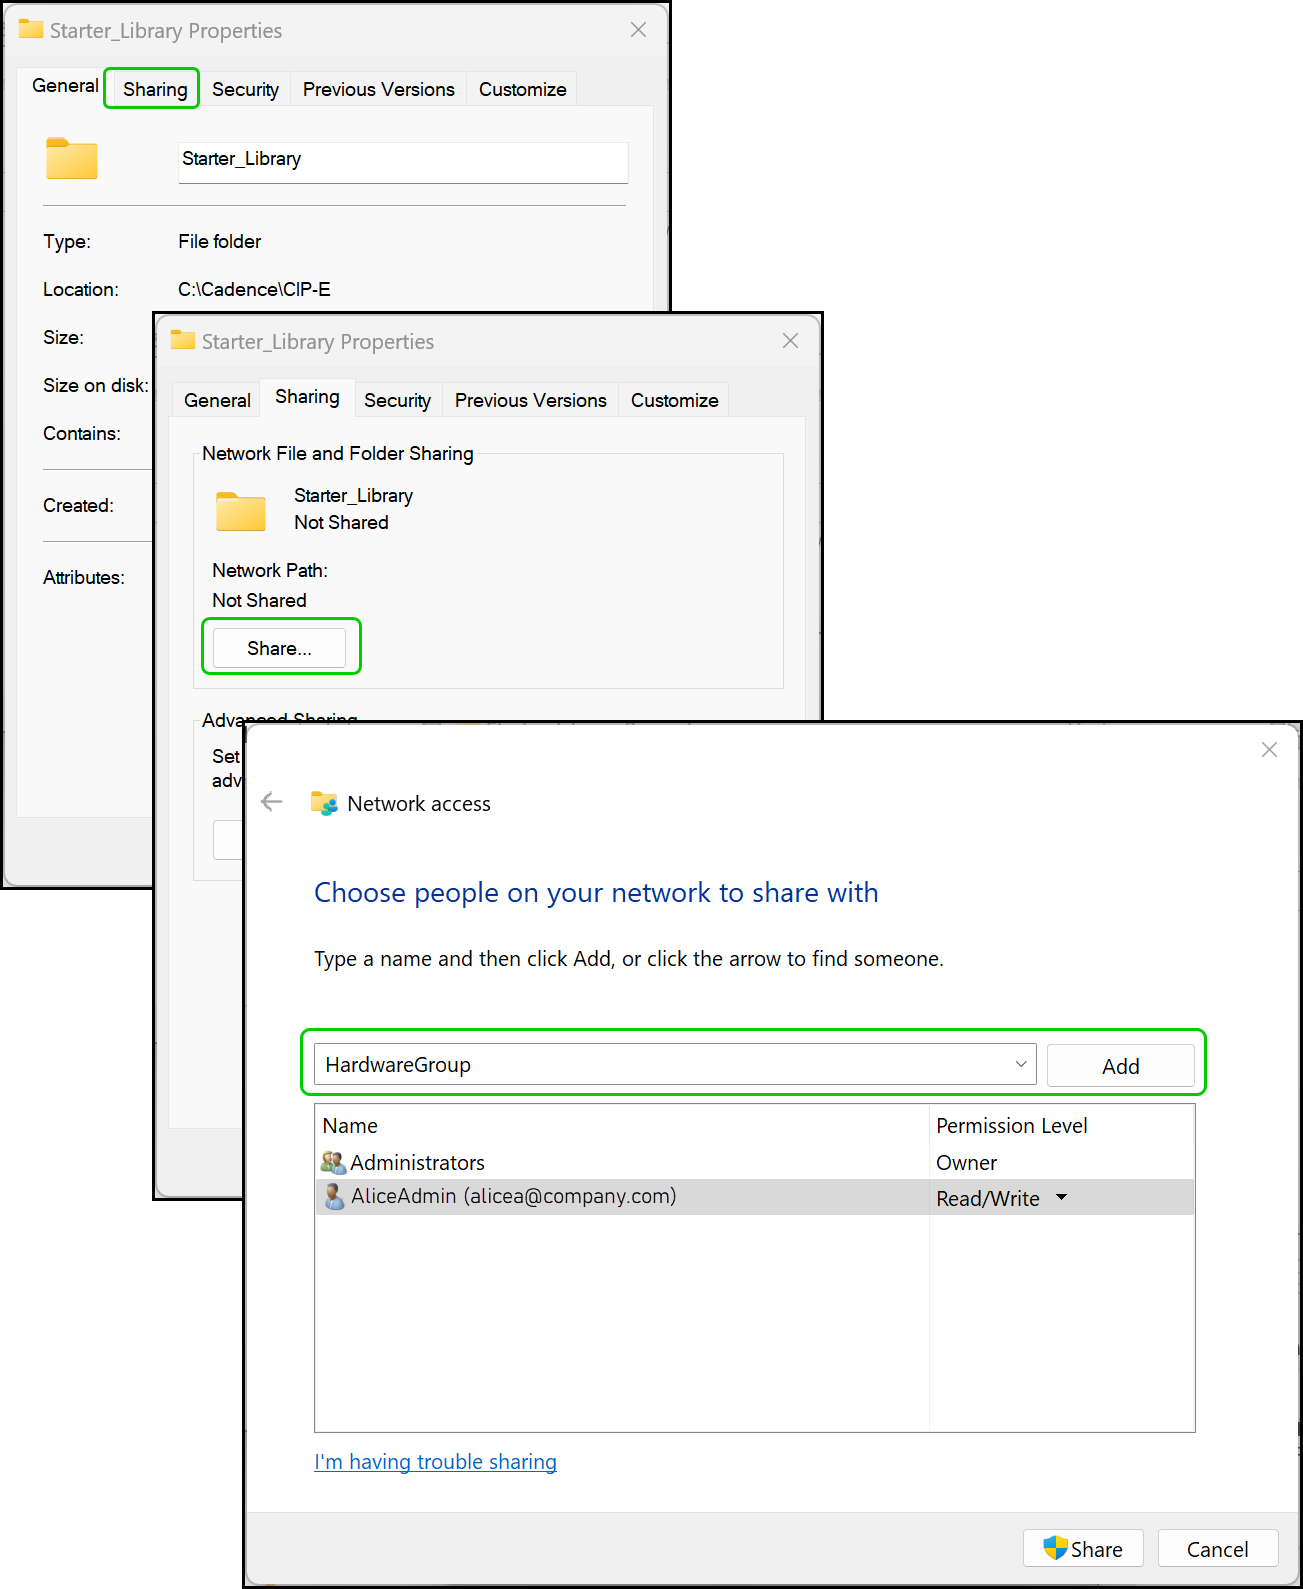
2.Create a share to your installed Starter_Library location. This may require a person (most likely IT personnel) who has permission to perform this task on the web server. You may copy the Starter_Library to another file server to ensure an accidental uninstall or upgrade doesn't change files that you want to keep or alter.
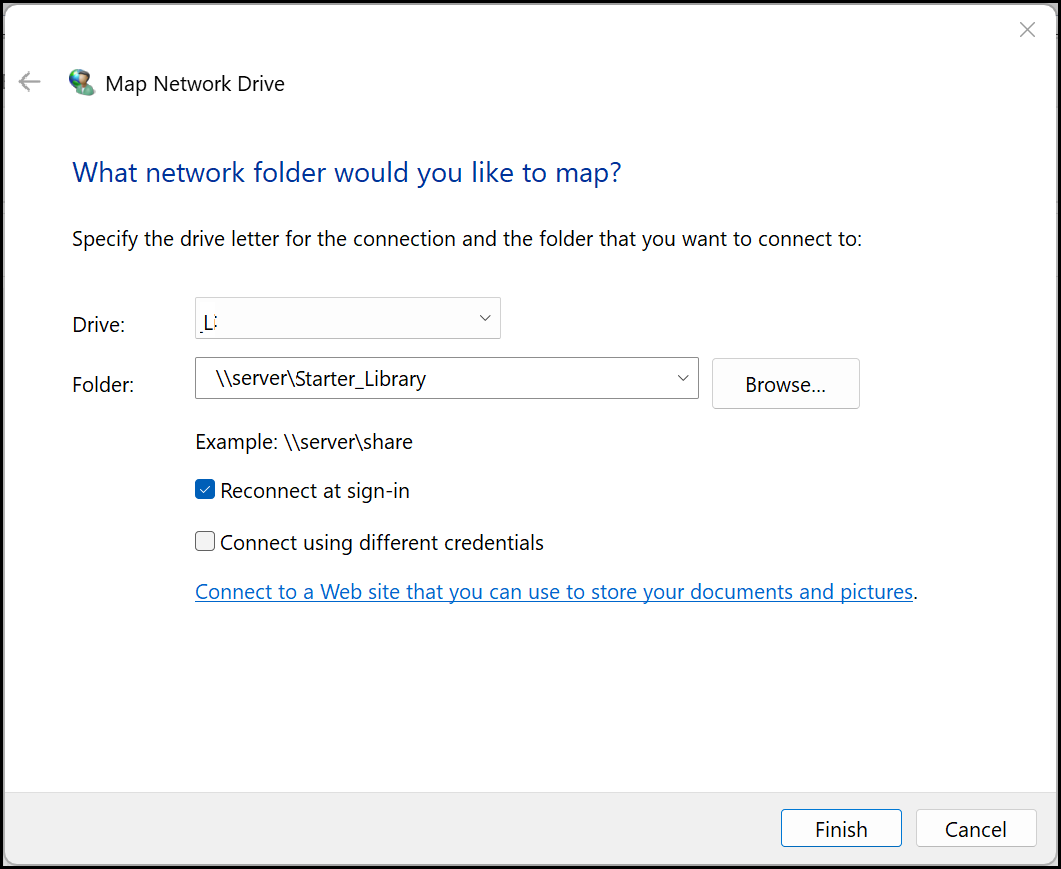
3.Map a drive to this share and have all users who need access to System Capture libraries create the same map drive letter to this share. To verify this step, navigate to the \syscap\Libraries subfolder (e.g. L:\syscap\Libraries) and look for the file Starter_Lib.csv. This file contains the starter library parts and corresponding System Capture Model names.
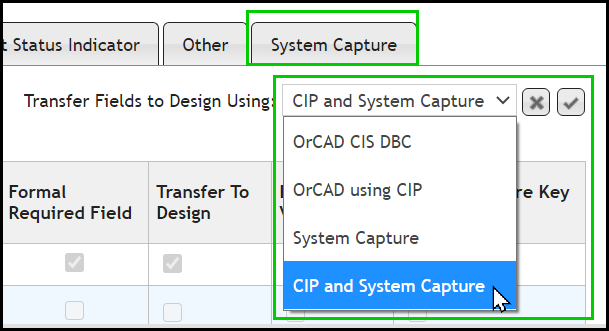
4.Navigate to CIP using a standard browser and configure CIP to have System Capture enabled for transfer fields to design using Admin > Configuration > Customizable Fields. Set the Transfer Fields to Design Using option to System Capture. Review the Configure Transfer Fields to Design section for detail information of options.
5.Import the Starter Library parts and parametric information. The System Capture Starter Library parts list (Starter_Lib.csv) will be in syscap\Libraries subdirectory of your map drive. If you are not familiar with the CIP bulk import functionality, you may run through the steps in the Tutorial for Importing CSV Parts.
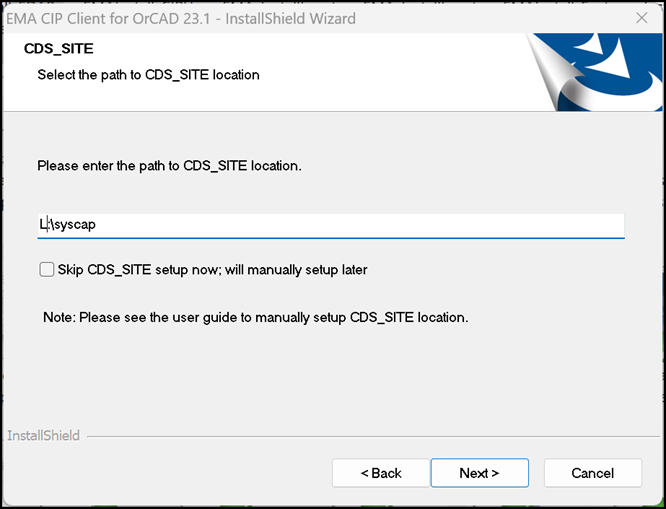
6.Install the CIP Client making sure to include the System Capture Client feature selection during install. If you are upgrading the CIP Client, you will need to uninstall the existing version and run the installer again to see the System Capture option. During install, at the CDS_SITE dialog, enter the mapped drive information (e.g. L:\syscap).
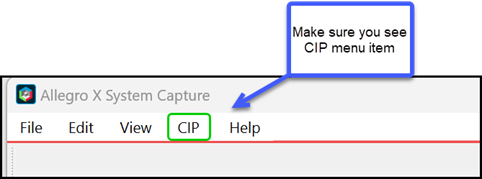
7.After you have completed your installation following the CIP client install guide, bring up System Capture 23.1 and make sure you see the CIP menu.
8.Select CIP > Open CIP and log in.
9.Navigate to Admin > Configuration > System Capture to complete System Capture setup and create PTF file. You will need to configure the location of your PTF file. Enter $CDS_SITE/Libraries/SysCapModel if using the starter library. You can set up substitution rules now if you would like.
10.Click the Generate button to create the PTF. This will take some time. A CMD window will launch to create an index for System Capture. DO NOT close this window. It will close itself when complete.
11.Now you are ready to create a new Project.
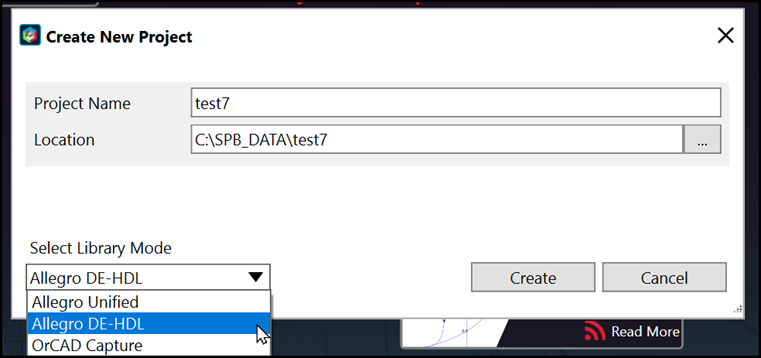
12.Select File > New > Project to create a new DE-HDL project, making sure the project selection is DE-HDL.
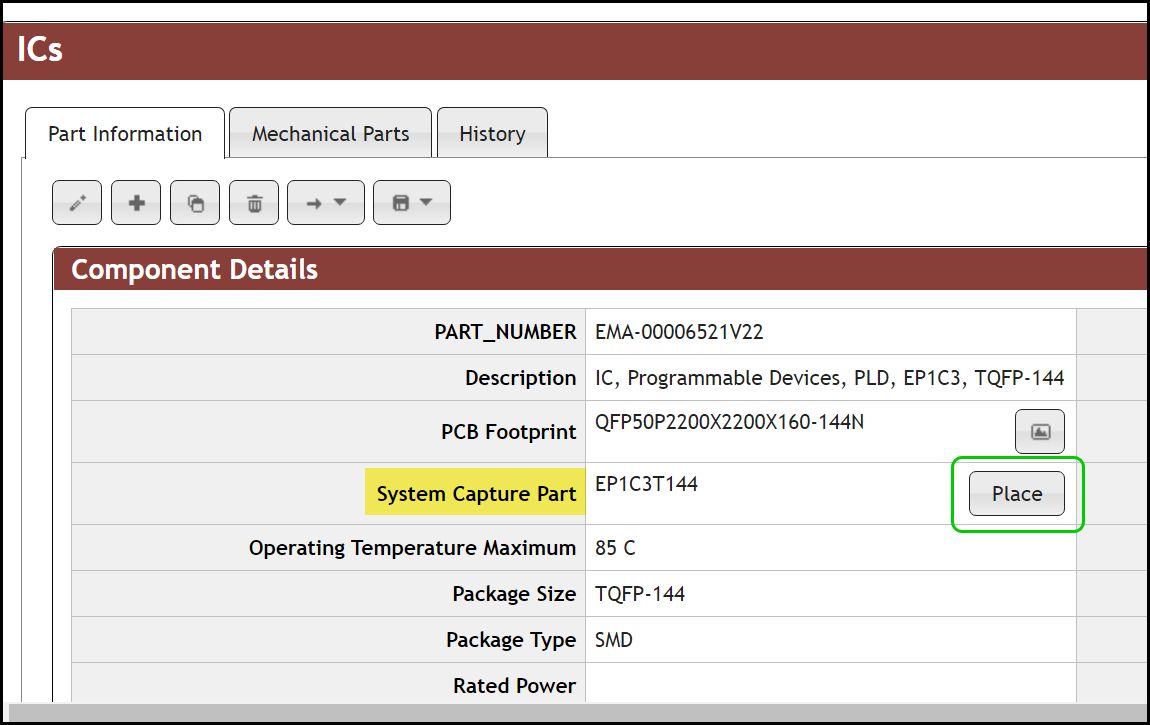
13.Switch to the CIP tab in System Capture and search for a part, and click the Place button next to the System Capture Part field. Placement of TMP parts are disallowed.
14.Click on the part after place to view attribute added when place.
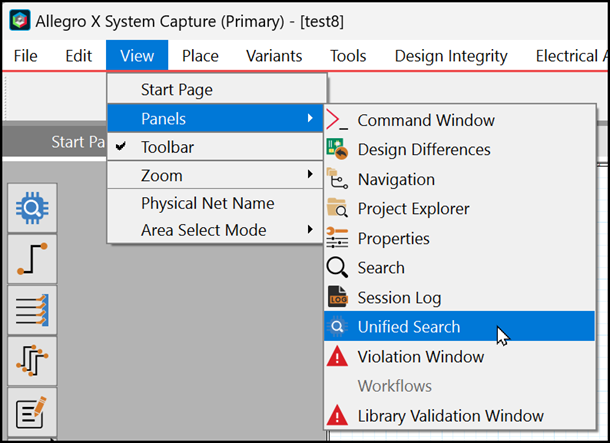
15.To see part list of parts in System Capture, select View > Unified Search to bring up the Unified Search tab.
16.You can skip log in if you don't have log in information.
17.After the Unified Search tab is open, enter "EMA" in the search string to see the parts import from the starter library.
